Integrating Subtitles on Downloaded LLF Course Videos
Introduction
While the videos available for viewing directly on the LLF site have subtitles available that can be turned on by clicking the "CC" icon towards the right-hand-side of the video controls, these aren't automatically available on the downloaded videos. The easiest way that we've found to add them is to download the videos and subtitle files and then use VLC Media Player as described fully in the instructions below (screen-shots are taken from a Windows 10 laptop, using the Firefox browser).
Step 0 - Download and Install VLC Media Player
If you don't already have it installed on your computer, visit the VLC site, check that the version that matches your system is shown below the big, blue "Download VLC" button, and click the button to begin the download. If the wrong version appears, select the one you need from the drop-down arrow at the side of the big blue button.
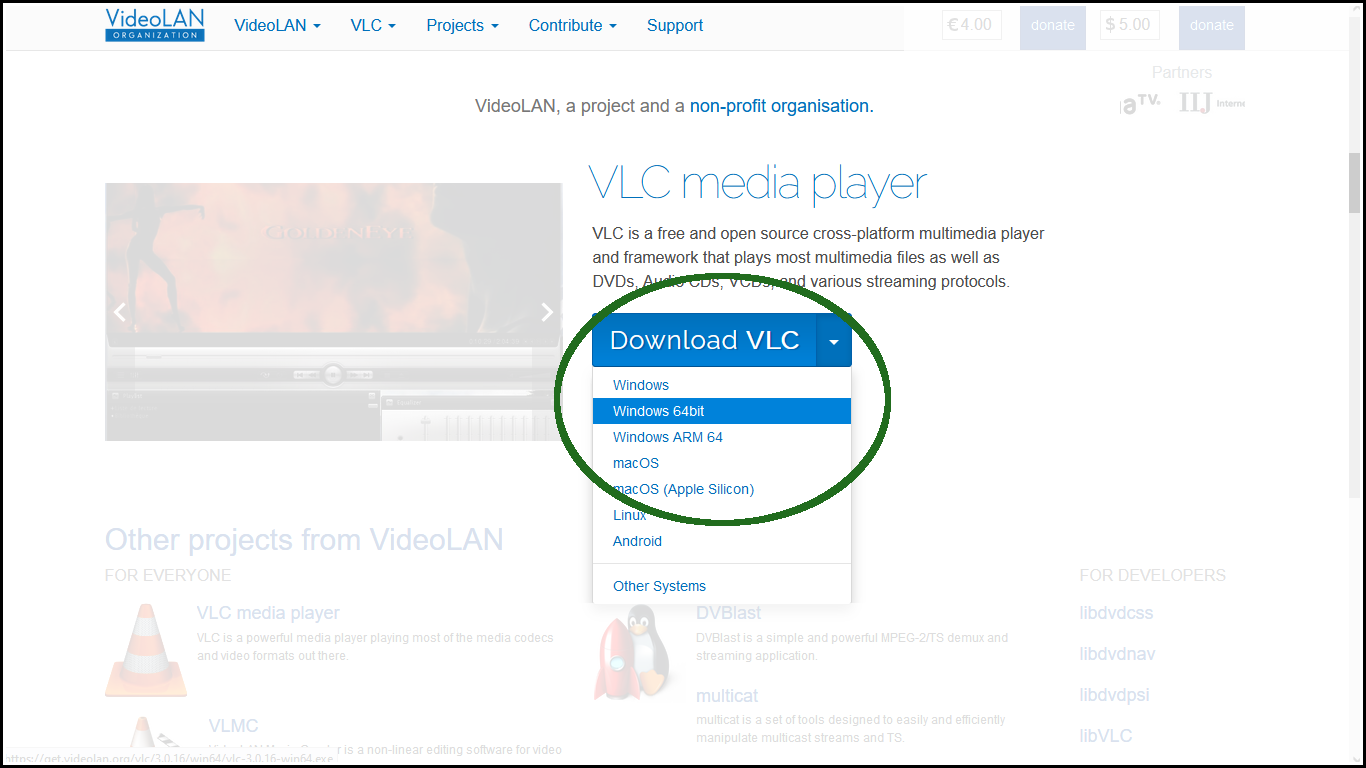
Depending on your settings, the download will either begin automatically, or you will be given the chance to choose where you want to save the file to.
Once the installation file has downloaded, locate it and double click on the icon to launch it. Follow the set-up process through - don't worry about any of the options, just clicking "okay" and "next" until the installation is complete will be fine.
Step 1 - Download the Videos and Subtitle Files
Use the links in the area to the right of this page to visit the Vimeo page for each video you wish to download. Once the page has loaded, click the Download button and select the quality of the video you need.
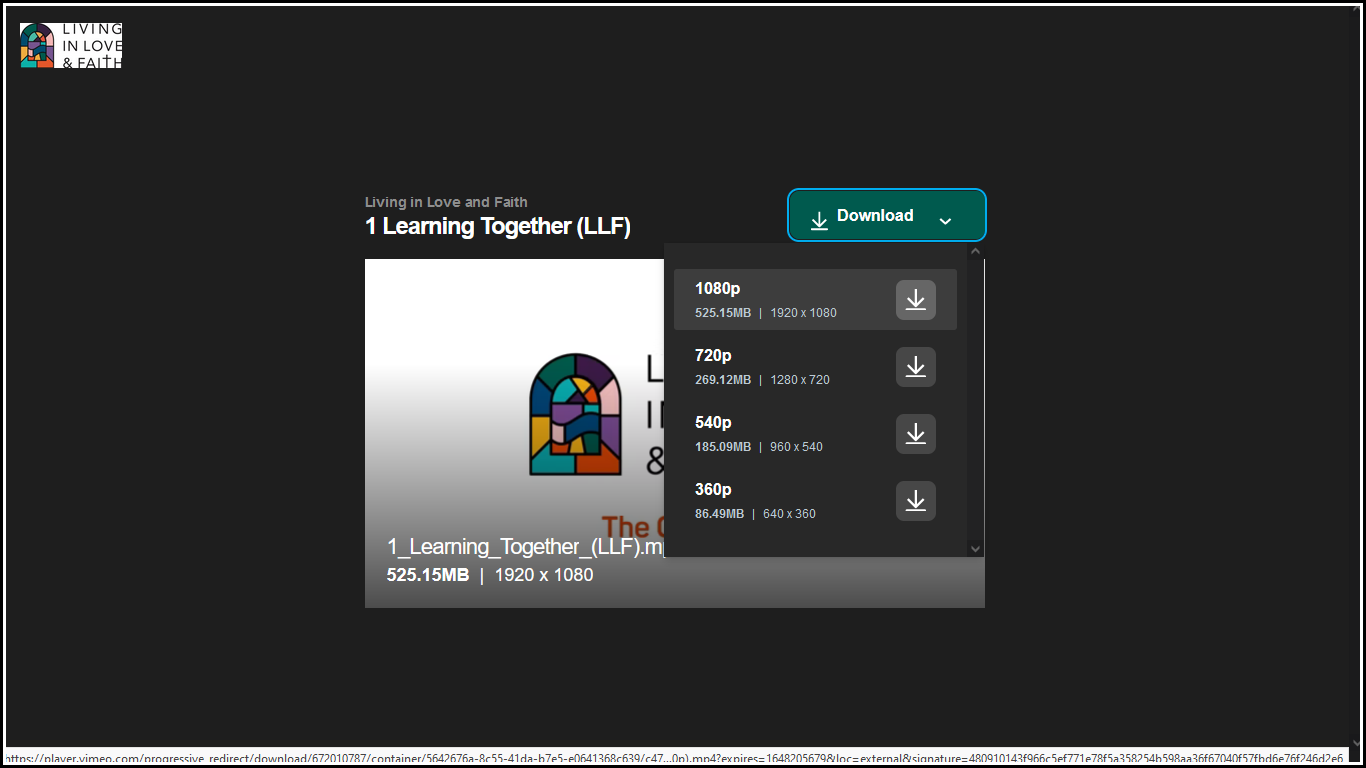
Depending on your settings, the download will either begin automatically, or you will be given the chance to choose where you want to save the file.
Once you have downloaded the videos you need, use the download link in the area to the right of this page download the zipped subtitles folder.
Step 2 - Unzip the Subtitle Files
On your computer, navigate to the downloaded zip-file, right-click on its icon and select "Extract All...
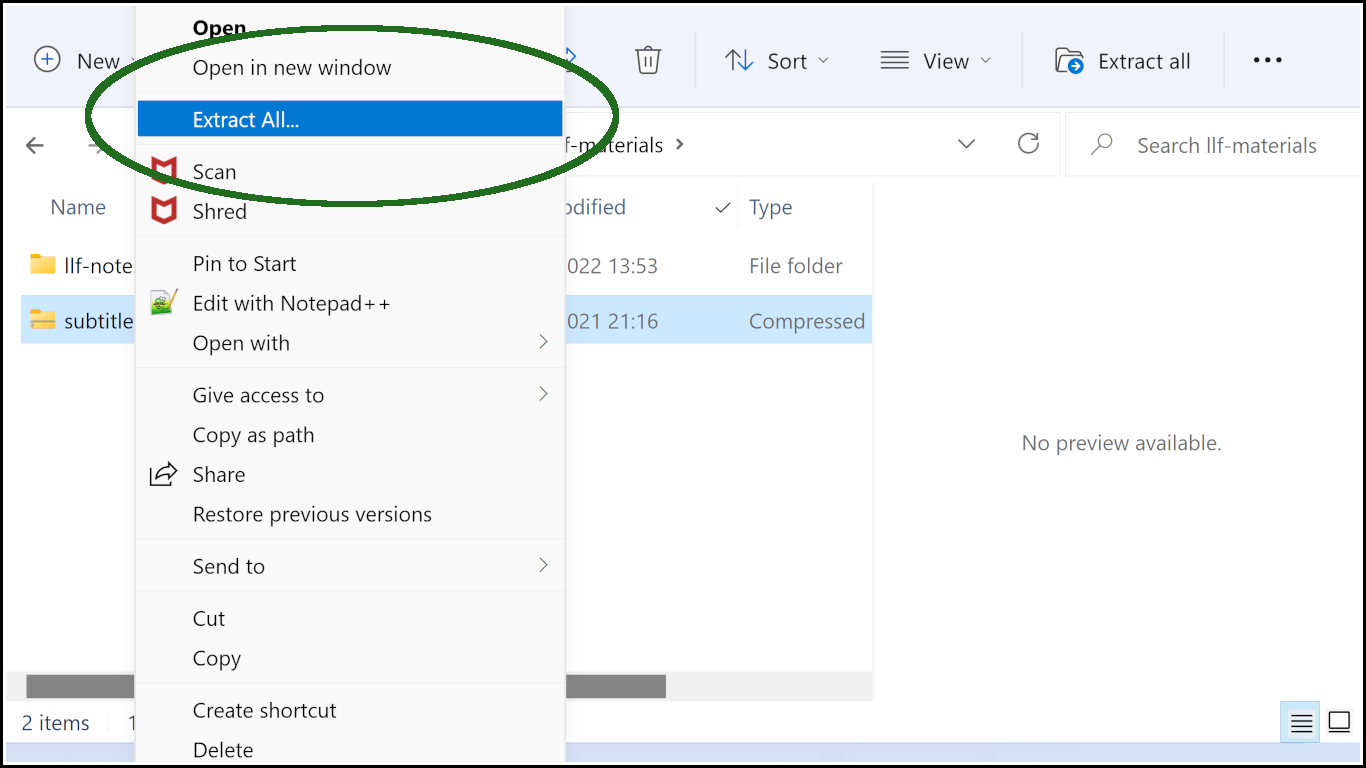
Untick the "Show extracted files when complete" box, make a note of the folder named above it, and click the "Extract" button.
Step 3 - Load the Video and Add the Subtitles
Please note: This step will need to be repeated each time you want to watch a Session video.
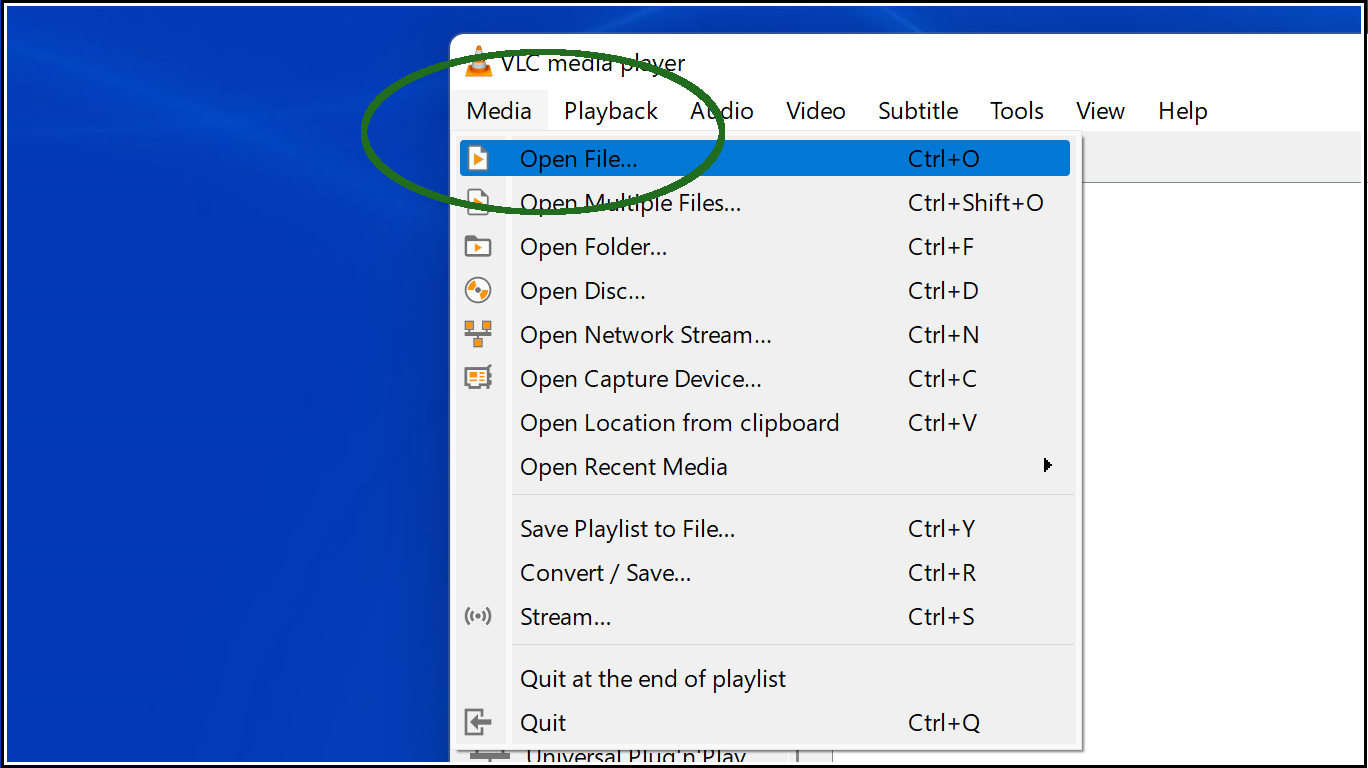
In VLC Media Player, click on the "Media" menu, select "Open File", and navigate to where you downloaded the video, select and click "Open". If the video begins to play automatically, pause it.
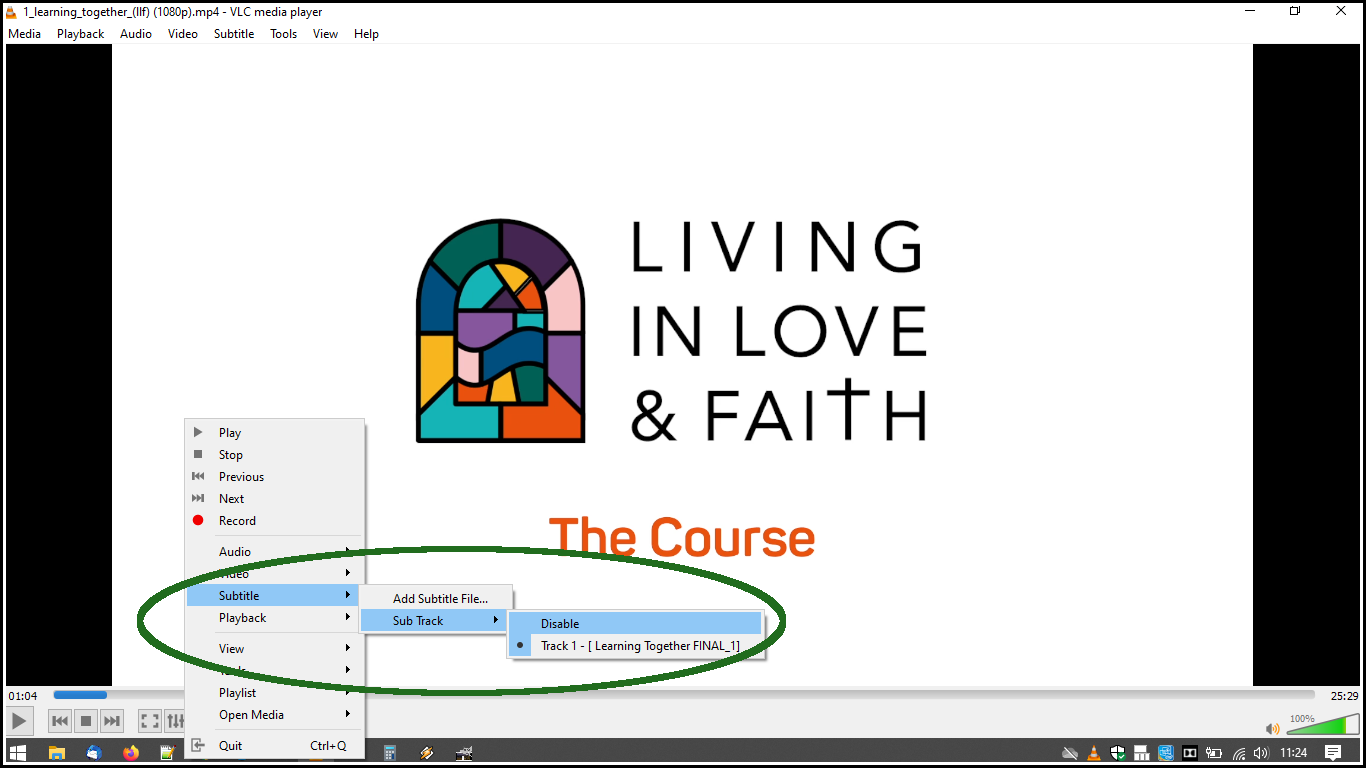
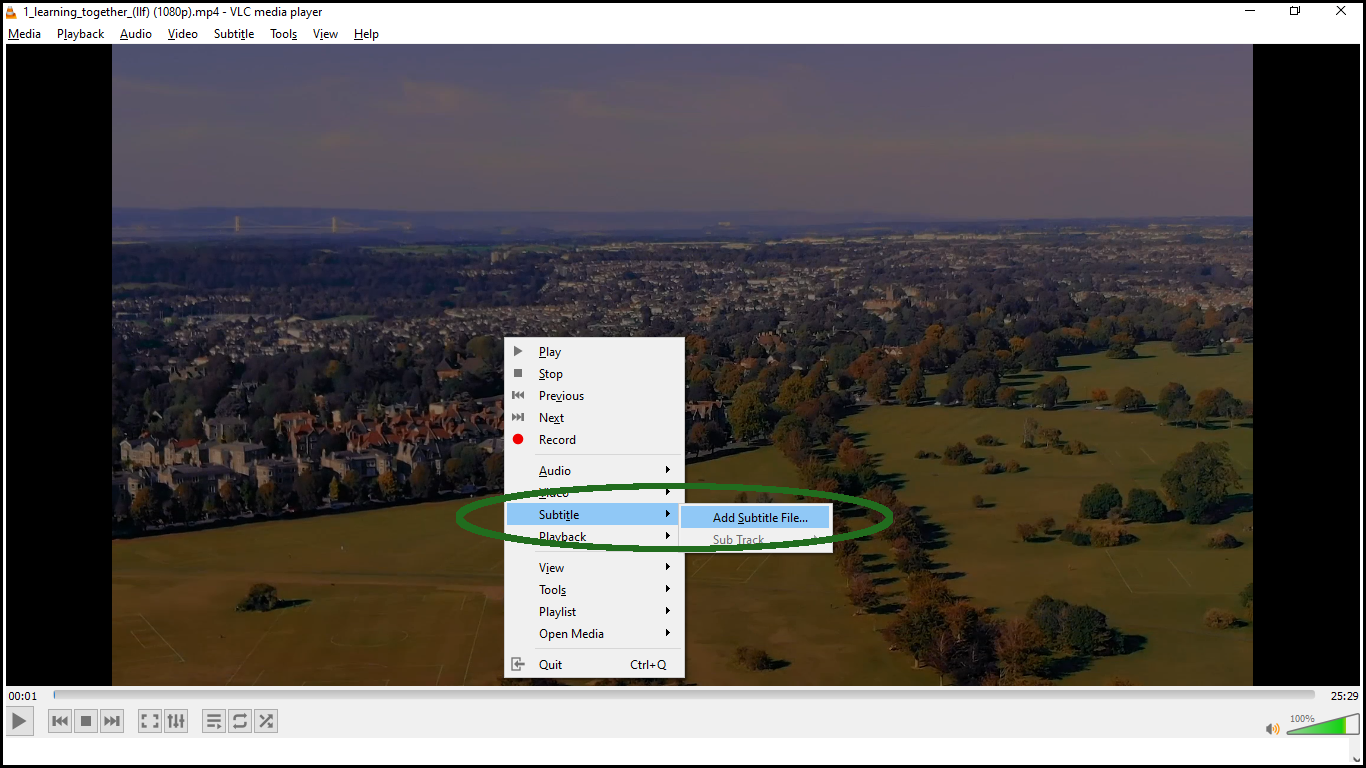
Right-click anywhere on the video screen and select "Add Subtitle File" from the "Subtitle" menu.
Navigate to where you unzipped the subtitle files in Step 2, open the "Sessions" folder, select the appropriate file and click "Open".
Press play. The video will continue with subtitles.
If you wish to turn the subtitles off and on, you can do this by right-clicking anywhere on the video and selecting "disable" or "track x - title details" from the "Sub track" option of the "Subtitles" menu.
